We recently received a request to repair a leaking chimney. We could have simply caulked the perimeter of the counter flashing and "called it a day". However, it has been my experience that caulking a chimney does not provide a long term solution. In many cases, it does not provide ANY solution at all.
We took a much different approach to solving the flashing leak. We removed all the shingles, felt and metal flashing. Upon cleaning the perimeter very thoroughly,
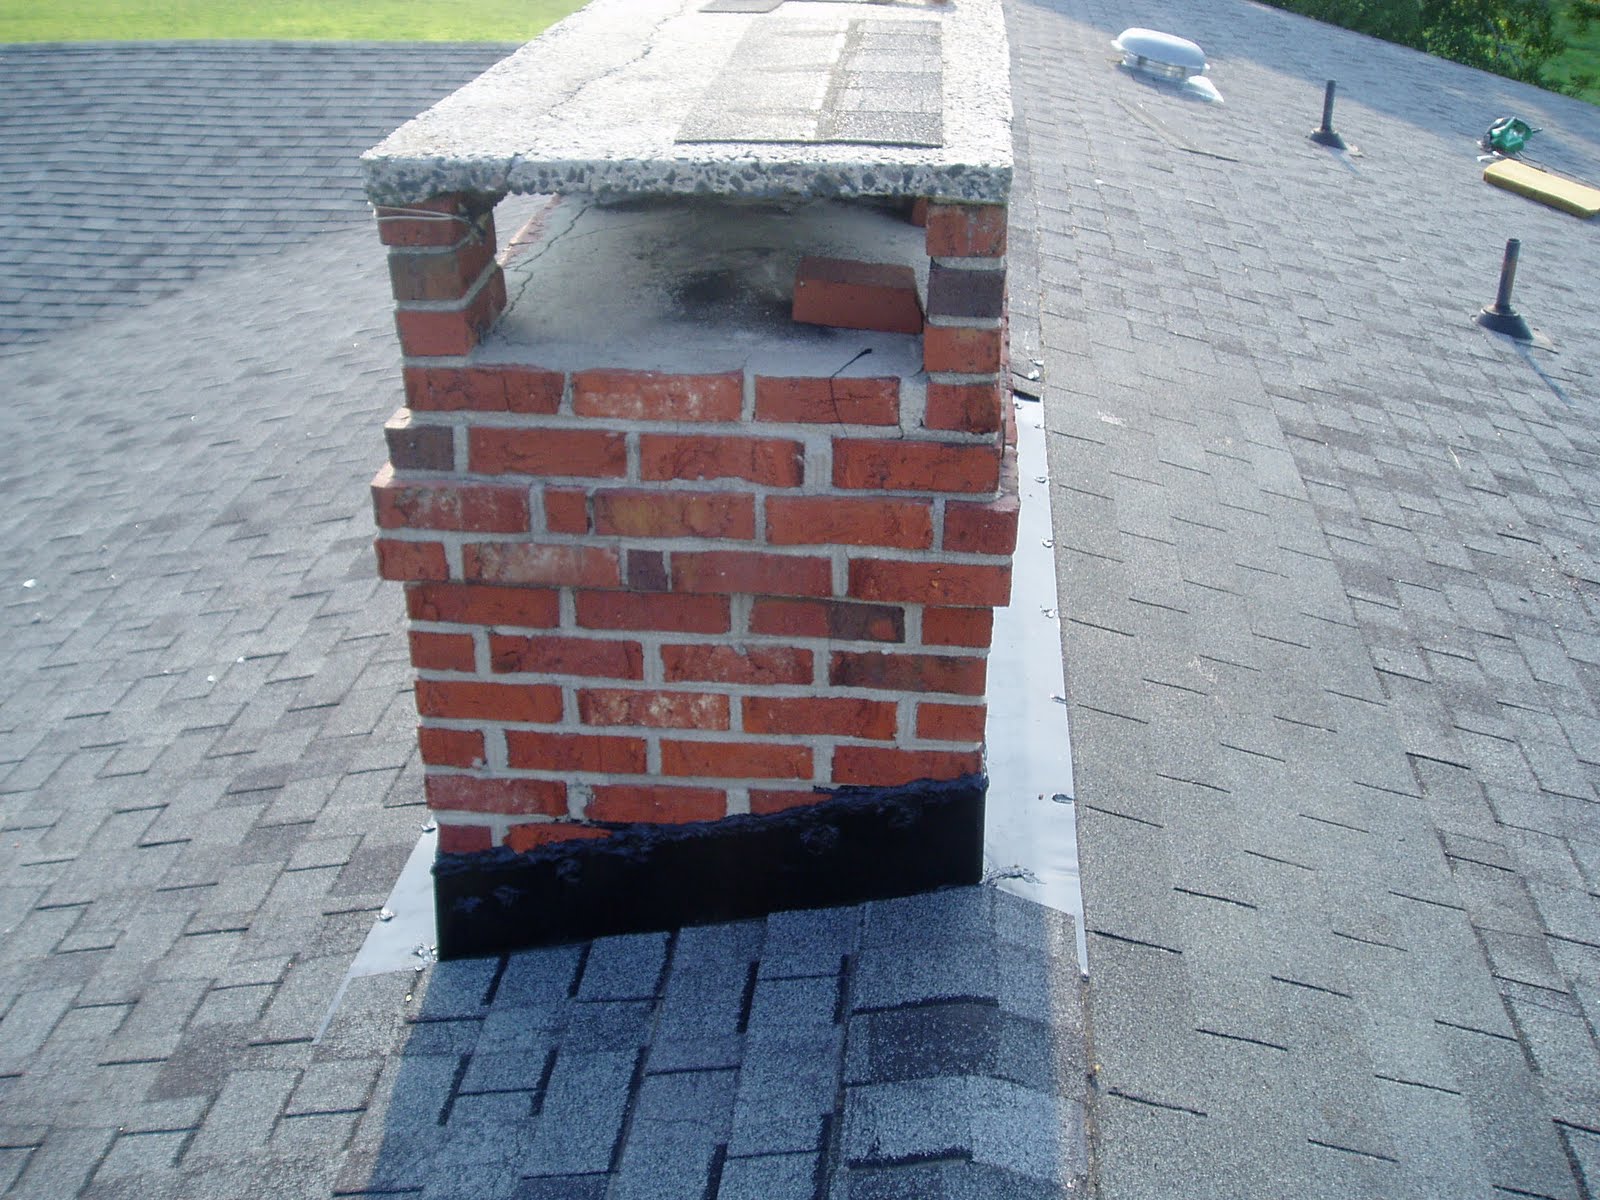
we installed a weather barrier or generically referred to as "ice and water shield" around the perimeter as you can see below.
You can see how we installed the "ice and water" on the wall and then folded it so it laid flat on the roof deck on all 4 sides of the chimney.
We then installed new step flashing, which is covered up by the new, black counter (outside) flashing.
Once the counter flashing has been caulked, we then finished the repair by installing shingles along all 4 sides of the chimney.
This flashing process will provide problem and leak free service for many years to come.
But wait a minute. Something doesn't look right here. Can you tell what is wrong in the last couple of photos? Look carefully. Do you see it?
You are right. It is the shingles. They don't match, do they? The shingles on the back slope are regular 3-tab shingles. The front shingles are a CertainTeed Horizon shingle, which unfortunately were discontinued a couple of years ago. In order to make the front slope of the roof (look) presentable, we kept and in some instances "reused" the Horizon shingles from the back roof slope whenever possible. We simply installed the new shingles on the back slope where they would not be as noticeable or visible.